
Drip Irrigation: Cost, Subsidy, Payback
Drip cuts water use 40-60% and lifts yield 20-50%. With PMKSY subsidy at 55%, the real question is which crops pay it back fastest.
Vaibhav Dhama4 min readWater delivered in slow, precise drops at the root of every plant — cutting water use 40–60% against flood irrigation, and raising fertiliser-use efficiency by about 30% through the same line.
Drip irrigation is the single highest-return switch most Indian farmers can make on an established, wide-spaced cash crop — not because it is complicated, but because flood irrigation wastes 55–65% of the water it applies to evaporation, deep percolation and runoff that a drip system simply does not lose. This page exists to answer the questions that come before that switch: what the system is actually made of, how it goes into the ground, which crops earn back its cost fastest, and what PMKSY actually pays for.
It is written to sit alongside the Irrigation hub, which compares drip against flood, sprinkler and micro-sprinkler for a farmer who has not yet decided on a system. This page assumes drip is the leading candidate and goes deeper — the parts, the install, the maintenance that keeps it performing at its rated efficiency, and the mistakes that quietly waste the subsidy and the water saving both.
The numbers a farmer checks before deciding to switch.
Water delivered as slow, precise drops at the root, not thrown across the whole field.
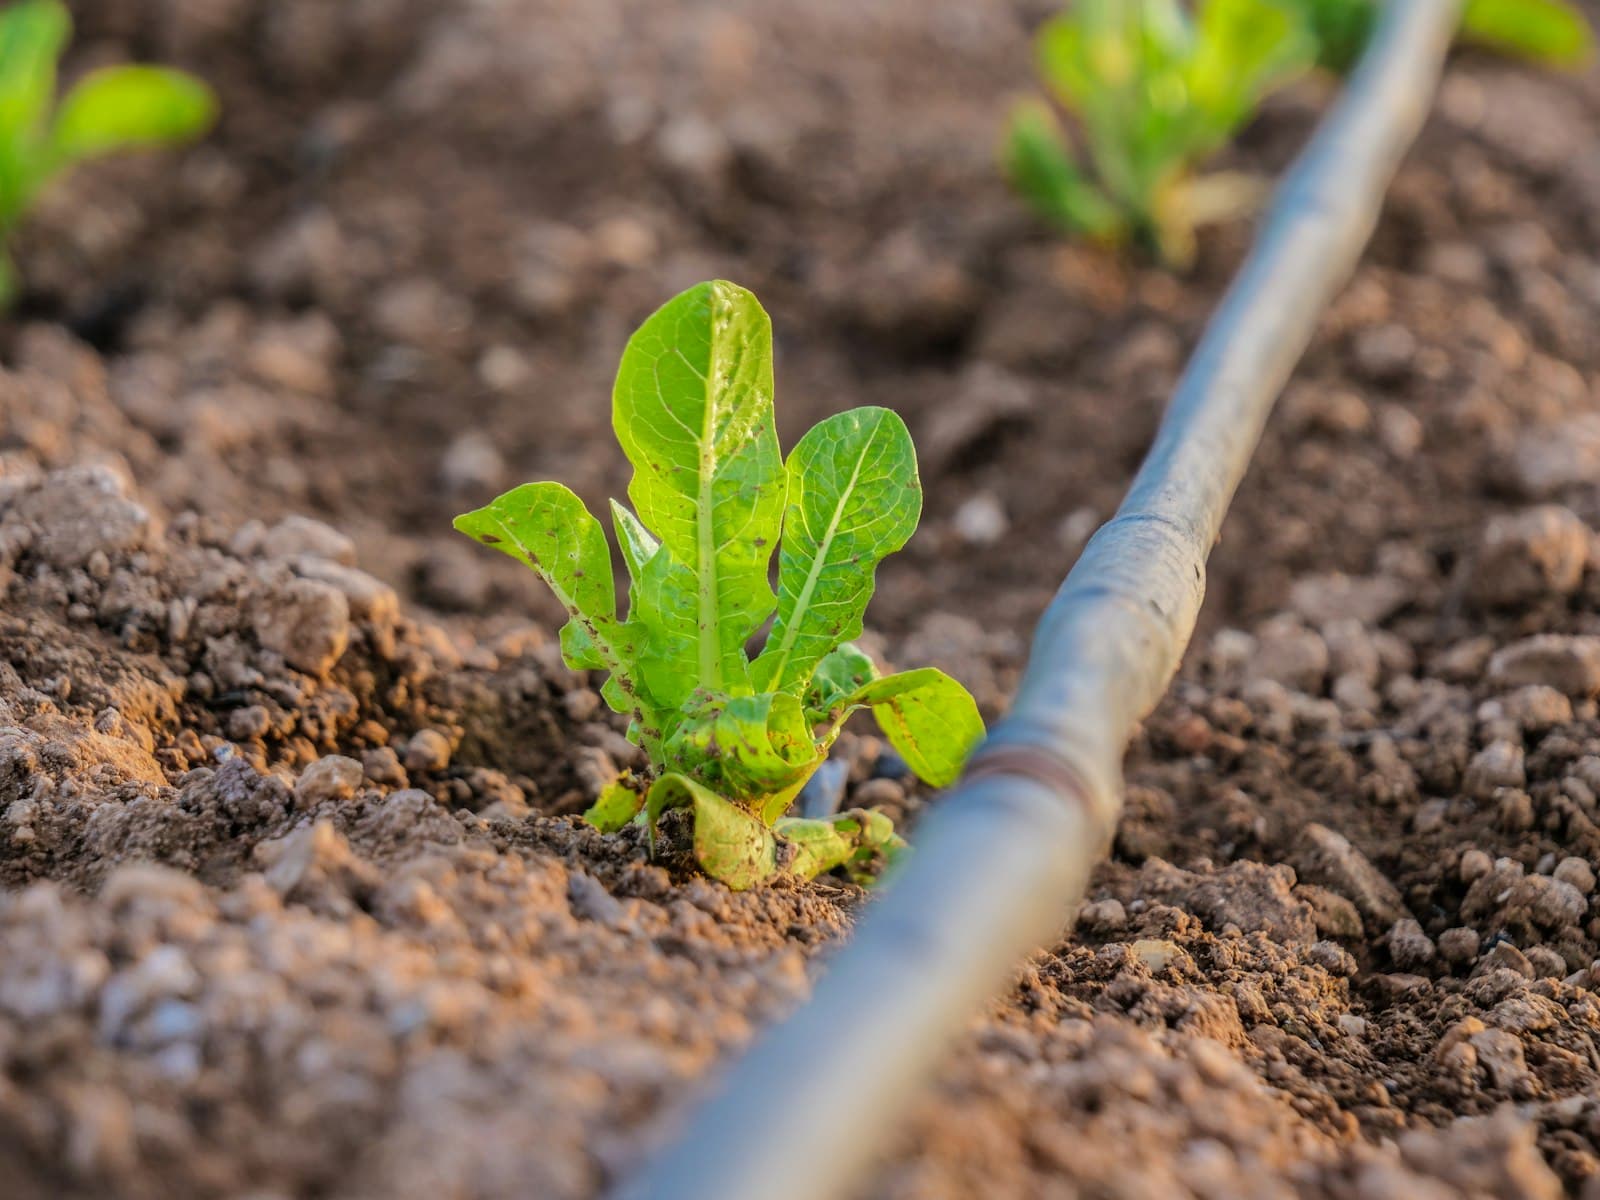
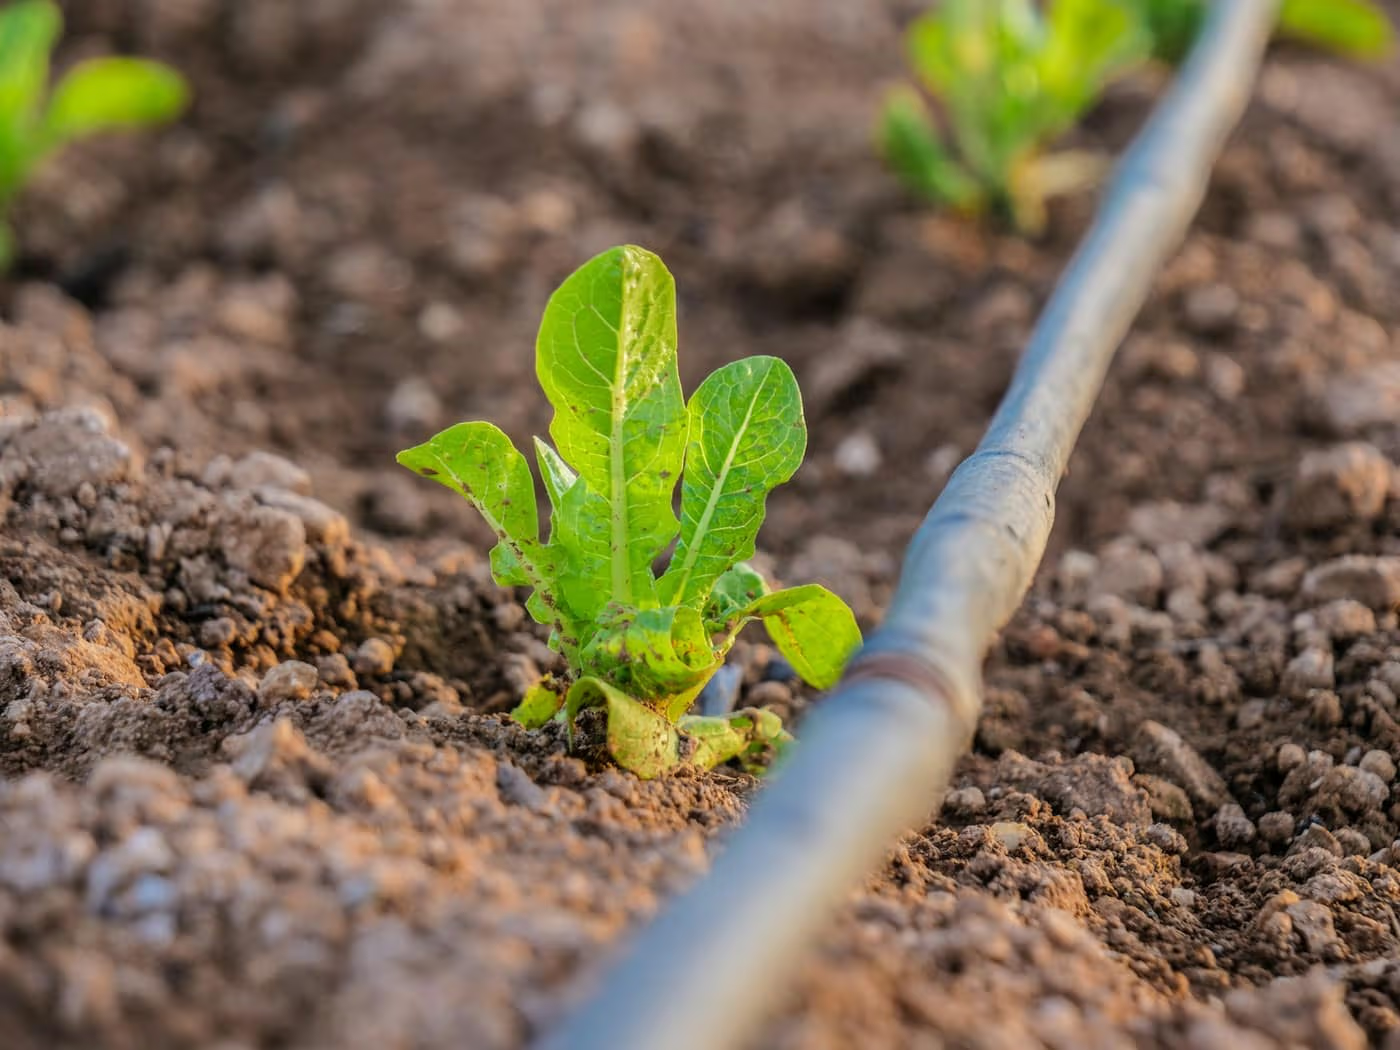
Drip irrigation delivers water in slow, precise drops directly at the base of each plant, through a network of pipes ending in a small emitter fitted right beside the root. Because water goes only where the roots actually are, evaporation from the bare soil between rows and deep percolation past the root zone both fall sharply — the 40–60% water saving quoted against flood irrigation is not a marketing number, it is what direct root-zone delivery does mechanically.
The same line that carries water can carry dissolved fertiliser — this is fertigation, covered in full in the complete guide below — which is the second reason drip earns back its cost faster than the water saving alone would suggest. None of this works without filtration: unfiltered water carrying sediment or algae is the single biggest reason a drip system underperforms its rated efficiency within a season or two, which is why the components section below treats the filter as seriously as the emitters.
Six components, from the water source to the emitter beside each plant.
Water source & pump
A borewell, open well or canal feed, lifted by a pump sized to the system’s design discharge. Undersized here starves every emitter downstream, however well the rest of the system is installed.
Filter
A screen, disc or sand filter removes sediment, algae and organic debris before water ever reaches an emitter — the single most important part for preventing clogging, and the one most often skimped on.
Fertigation unit
A venturi injector or fertigation pump meters water-soluble fertiliser into the main line, downstream of the filter, so nutrient and water reach every plant’s root together.
Main and sub-main lines
PVC or HDPE pipe carrying pressurised, filtered water from the pump to each block of the field, branching into sub-mains that feed a set of rows.
Laterals
Smaller-diameter pipe laid along each crop row, carrying water the last stretch from the sub-main to the plants themselves.
Drippers / emitters
Fitted into the lateral at each plant, releasing water at a fixed, slow rate — typically 2 to 8 litres an hour — directly at the root zone.
Six stages from a bare field to a running, fertigation-ready system.
Check that the well, borewell or canal feed can sustain the system’s full design discharge, and have a dealer or your Krishi Vigyan Kendra design the main/sub-main/lateral layout for the plot’s actual shape, slope and crop spacing.
Confirm the source can sustain the design discharge for the several hours a full irrigation round takes — not just a burst of pressure at start-up.
Connect the pump to the filtration unit first, then run the main line out to each block of the field, with sub-mains branching off to feed each set of rows.
Bury the main line wherever it crosses a farm track, so machinery does not crush it later in the season.
Run lateral pipe along every row and fit a dripper at each plant’s position, spaced to the crop’s actual row and plant spacing rather than a generic default.
Laterals laid across a slope instead of along the contour water unevenly — the top of the run gets less pressure than the bottom.
Fit a venturi injector or fertigation pump on the main line, downstream of the filter, so dissolved fertiliser reaches every emitter at an even concentration.
Use only water-soluble grades from the start — standard urea or DAP do not dissolve cleanly enough for the line and will clog emitters.
Run the system on clean water before the crop goes in, checking every lateral end for even flow and flushing out any sand or construction debris left in the pipe.
Skipping the first flush leaves grit inside the line that clogs the first few emitters within days of the real season starting.
Acid-flush the laterals and clean the filter at the start and end of every season, from the very first season — a habit skipped early is far harder to start once emitters have already begun clogging.
Wide-spaced, high-value row crops earn back the system cost fastest.
Wide row spacing and high cash value make it the classic drip conversion.
A full-year crop where the water saving compounds over the longest season of any field crop.
Shallow roots need frequent, precise moisture — exactly what drip delivers and flood does not.
Drip with plastic mulch keeps foliage dry and cuts fruit-cracking from irregular watering.
Even soil moisture through tuber bulking avoids the cracking a flood-flood-drought cycle causes.
Row spacing wide enough to justify laterals, on soil that drains fast enough to need them.
A high-value crop where fertigation through the same line pays for itself quickly.
Long harvest window rewards the steady, stress-free moisture drip provides.
A heavy, season-long water need that drip meets far more efficiently than flood basins.
A multi-year planting where the extra install cost is justified across many seasons.
Orchard spacing and a real risk of fruit cracking from uneven watering both favour drip.
Established orchard rows are close to the ideal drip layout with minimal adaptation.
The numbers that actually decide whether switching to drip is worth it.
The full four-way comparison, including micro-sprinklers, is on the Irrigation hub. This table keeps to the three systems most farmers are actually choosing between once a wide-spaced row crop is already decided on.
| Feature | Flood | Sprinkler | Drip |
|---|---|---|---|
| Water saving vs flood | Baseline | 30–50% | 40–60% |
| Installation cost (per acre) | ₹2,000–5,000 | ₹15,000–22,000 | ₹30,000–48,000 |
| Field application efficiency | ~40% | ~75% | ~90% |
| Fertigation | Not practical | Possible, less precise than drip | Excellent — the main reason many farmers upgrade |
| Best suited crops | Paddy; crops where cost rules everything else out | Closely sown crops — wheat, groundnut, pulses | Wide-spaced row crops — cotton, sugarcane, vegetables, orchards |
| PMKSY subsidy | Not covered | 55% (small/marginal) · 45% (others) | 55% (small/marginal) · 45% (others) |
| ROI / payback period | Not applicable | 2–4 seasons | 2–3 seasons on a cash crop |
What the "Per Drop More Crop" component actually pays for, and how to claim it.
Per Drop More Crop (PDMC) pays a capital subsidy on the drip system itself — the single largest subsidy line item most individual farmers ever claim. It ran as a PMKSY component until 2021-22; since 2022-23 it has been funded through Rashtriya Krishi Vikas Yojana, and since October 2024 it has been a component of the renamed Pradhan Mantri Rashtriya Krishi Vikas Yojana (PM-RKVY). It is paid as Direct Benefit Transfer after installation is verified, not upfront and not to the dealer, so budgeting for the full cost first is the realistic way to plan the purchase.
A 55% subsidy on a ₹36,000-per-acre system brings a small or marginal farmer’s actual outlay down to roughly ₹16,200 — often recoverable within two to three seasons on a cash crop through water, labour and fertiliser savings alone, before counting any yield gain.
Four problems that account for most of the efficiency a poorly maintained system loses.
Drip clogging
Uneven flow / low pressure at the far end
Algae growth in the filter or storage tank
Rodent or root damage to laterals
The buying and installing mistakes that quietly cost more than the system itself.
Skipping the filter, or undersizing it
A drip system’s water saving and emitter life both depend on filtration matched to the water source — an undersized or absent filter is the single biggest reason a system underperforms its rated efficiency within a season.
Fertigating with standard urea or DAP
These do not dissolve cleanly enough for an emitter — only water-soluble grades belong in the fertigation line, or the undissolved residue clogs emitters from the inside.
Not checking the water source before buying
A system sized for one acre needs a pump and source that can sustain its design discharge for the full duration of an irrigation round, not just a burst of pressure at the start — checking this after installation is far more expensive than checking it before.
Laying laterals across a slope instead of along the contour
Gravity adds pressure at the low end and takes it away at the high end, so a lateral run across a slope waters unevenly however well everything else is installed.
Treating acid-flushing as optional
A system not acid-flushed every season loses efficiency to clogging within two to three years, at which point it performs little better than a poorly maintained sprinkler — the water saving quoted for drip assumes basic maintenance is actually done.
Buying from an unregistered dealer to save time on paperwork
The PMKSY subsidy claim is rejected outright if the equipment was not bought from a state-registered, BIS-certified supplier — the shortcut costs far more than the paperwork it was meant to save.
Size the system and check the numbers before you spend a rupee.
Fertigation, PMKSY economics, maintenance and the mistakes to avoid — everything above, in reading order.
Drip irrigation delivers water in slow, precise drops directly at the base of each plant, instead of flooding or spraying the whole field. Because water goes only where roots actually are, evaporation from bare soil between rows and deep percolation past the root zone both fall sharply, which is why it cuts water use 40–60% against flood irrigation — a mechanical result of root-zone delivery, not a marketing figure.
It earns its cost back fastest on wide-spaced row crops with real cash value — cotton, sugarcane, onion, tomato — where fertigation adds a second saving on top of the water one. It is a poor fit for closely sown or broadcast crops like wheat or gram, where laying enough laterals to cover every row costs more than the crop can return; those stay on sprinkler or flood, covered in full on the Irrigation hub.
A drip system is six parts working as one chain: a pump lifting water from the source, a filter cleaning it, an optional fertigation unit dosing nutrient into it, main and sub-main lines carrying it to each block, laterals carrying it along each row, and emitters releasing it at each plant — see the components section above for what each one actually does.
The chain is only as good as its weakest link. An undersized pump starves every emitter downstream; a missing or undersized filter clogs emitters within a season regardless of how well everything else is installed. This is why installation quality, not just the equipment bought, decides whether a system delivers its rated 90% field efficiency or something well short of it.
Fertigation is dissolving water-soluble fertiliser into the irrigation water and applying both together through the drip system’s existing network. Because the nutrient arrives exactly where the water does — at the root zone, in small frequent doses rather than one broadcast application — fertiliser-use efficiency typically rises by around 30% compared with a single soil-applied dose, since less nitrogen is lost to volatilisation or leaching past the root zone.
It needs water-soluble grades, not standard urea or DAP, which do not dissolve cleanly enough for an emitter, plus a venturi injector or fertigation pump to meter the dose into the line — a modest extra cost on top of the system itself, usually justified quickly on a crop already paying for fertigation-suitable inputs like NPK 19:19:19 or calcium nitrate. See the Fertilizer Calculator to plan the dose.
The subsidy explained in the PDMC section above changes the arithmetic of switching to drip more than most farmers realise before checking: a 55% capital subsidy on a ₹36,000-per-acre system brings the actual outlay down to roughly ₹16,200 for a small or marginal farmer — often recoverable within two to three seasons on a cash crop through water, labour and fertiliser savings alone, before counting any yield gain.
Budget is not just the net cost after subsidy — it includes bridging the gap between paying the dealer in full and receiving the PDMC subsidy as DBT afterward, which for many small farmers is the real constraint. The scheme also intersects with the broader Government Schemes directory — a farmer applying for PDMC is often, in the same visit to the agriculture office, also eligible to ask about Kisan Credit Card financing for the farmer’s share of the cost.
A drip system not acid-flushed every season loses efficiency to clogging within two to three years, at which point it performs little better than a poorly maintained sprinkler — the water saving quoted for drip assumes basic maintenance is actually done, not just that the system is installed. Filters need cleaning on a schedule, not only when flow visibly drops; by the time flow drops, some emitters have likely already clogged silently.
The common problems section above covers the specific symptoms and fixes for clogging, uneven flow, algae and physical damage — walking the lateral lines periodically to catch a small leak or a slowly clogging emitter early is far cheaper than replacing a section of lateral or losing a season’s water saving to an undetected problem.
Beyond the mistakes listed above, the pattern underneath most of them is treating the system as equipment that works on its own once bought, rather than a chain that needs the water source checked, the filter matched to it, the laterals laid along the contour, and the maintenance schedule started from day one.
A second, quieter mistake is buying from an unregistered dealer to save a step on paperwork — the PMKSY subsidy claim is rejected outright on equipment from an unregistered, non-BIS-certified supplier, which costs far more than the time the shortcut was meant to save.
Subsurface drip irrigation buries the lateral lines a few centimetres to a foot below the surface instead of laying them on top of it — the same drip principle, delivered where evaporation from the soil surface cannot touch it at all. It pushes efficiency higher still than surface drip, at a materially higher installation cost and the added complication of a buried line being harder to inspect for clogging or damage.
In India it remains a niche choice, mostly on high-value orchard and plantation crops — grapes, pomegranate, banana — where the extra cost is justified over a multi-year planting, rather than an annual field crop replanted every season.
As a general rule: a wide-spaced cash crop on sandy or loam soil, with a borewell, well or canal source that can sustain the design discharge, and a budget that can bridge the gap to the PMKSY subsidy, is the clearest fit for drip. The Irrigation hub’s system advisor works through the same crop, soil, water source and budget questions an irrigation consultant would ask in person, and returns a recommendation with its cost, subsidy and payback period.
Where the crop is closely sown or broadcast — wheat, gram, most pulses — sprinkler or flood usually remain the better fit, since laying enough drip laterals to cover every row costs more than those crops can return; the full four-way comparison is on the hub.
Long-form writing on drip irrigation, with the numbers included.
Drip irrigation delivers water in slow, precise drops directly at the base of each plant through a network of pipes and emitters, instead of flooding or spraying the whole field. Because water goes only where roots actually are, it cuts water use by 40–60% compared with flood irrigation and, since fertiliser can travel through the same line (fertigation), raises fertiliser-use efficiency by roughly 30% as well.
Wide-spaced row crops with real cash value get the most out of drip — cotton, sugarcane, onion, tomato, potato, groundnut and chilli are the classic fits, along with orchard and plantation crops like grapes and pomegranate. Closely sown or broadcast crops like wheat, gram and mustard are usually left on sprinkler or flood, since laying enough drip laterals to cover every row costs more than those crops can return.
Typically ₹30,000–48,000 per acre before subsidy; after the PMKSY subsidy (55% for small/marginal farmers, 45% for others), the net cost usually falls to roughly ₹16,000–26,000 per acre. On a cash crop like cotton, sugarcane or vegetables, that cost is commonly recovered within two to three seasons through water, labour and fertiliser savings — longer on lower-value cereal crops.
The "Per Drop More Crop" component of PMKSY pays 55% of the system cost for small and marginal farmers (holdings up to 2 hectares) and 45% for other farmers, capped at 5 hectares per beneficiary. The subsidy is paid as Direct Benefit Transfer after installation is verified, not upfront, and only on equipment from a state-registered, BIS-certified dealer.
Fertigation is dissolving water-soluble fertiliser into the irrigation water and applying both together through the drip system’s existing network. It needs water-soluble grades like NPK 19:19:19 or calcium nitrate rather than standard urea or DAP, which do not dissolve cleanly enough for an emitter — plus a venturi injector or fertigation pump to meter the dose into the line.
Yes — the steady root-zone moisture drip provides, without the wet-dry swings flood irrigation causes, typically lifts yield 20–50% on row crops, on top of the water and fertiliser savings. The gain comes from the crop never experiencing the moisture stress that a longer flood-irrigation gap allows between waterings.
Install a filter sized to your water source and acid-flush the laterals at the start and end of every season, without skipping a year — most clogging comes from sediment, algae or mineral precipitate that basic filtration and flushing prevent. Flush the open ends of lateral lines periodically as well, to clear sediment that settles even with good filtration.
A well-maintained system typically runs 7 or more years before major components need replacing — which is also why PMKSY’s subsidy re-claim window is set at roughly 7 years. Skipping seasonal acid-flushing and filter cleaning shortens this considerably, since clogging damage compounds year over year rather than resetting each season.
The layout and sizing — matching pump, filter, pipe diameter and lateral spacing to your field and crop — is worth getting from a dealer or your Krishi Vigyan Kendra, since an undersized pump or filter quietly limits the whole system’s performance. Laying the laterals and fitting emitters once the design is set is straightforward manual work most farmers do themselves.
Yes — sandy soil drains fast and loses the most water to deep percolation under flood irrigation, which is exactly what drip’s direct root-zone delivery avoids. It is usually the best-suited irrigation method for sandy soil among the options compared on the Irrigation hub.
Components, costs and subsidy figures are general, ICAR package-of-practice and PMKSY guideline estimates, not a quote for any one field or scheme year — confirm with your local Krishi Vigyan Kendra before buying. Read more at /editorial-policy.