
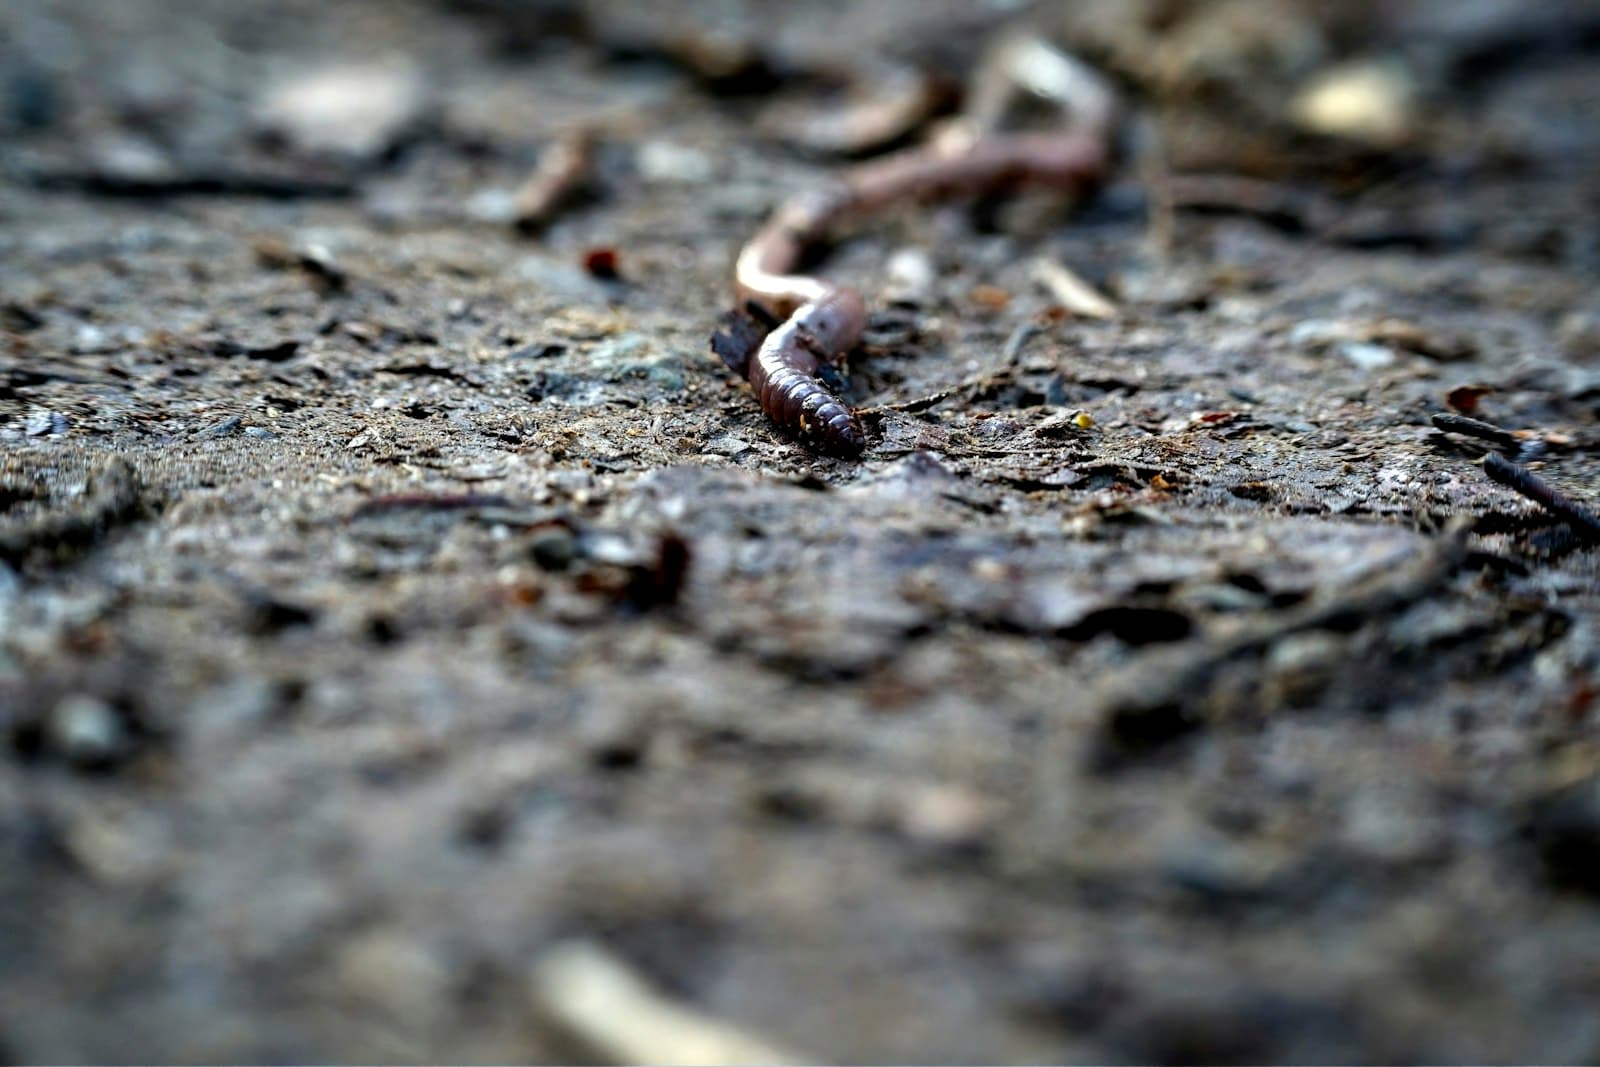
Vermicompost: A Six-Bed Unit's Numbers
A six-bed vermicompost unit costs about Rs 34,000 after subsidy and turns waste into a saleable product. Cost sheet, revenue, and what decides it.
Vaibhav Dhama4 min readA 10×3×2 ft bed, a stock of red wiggler earthworms, and farm waste you were burning — turned into roughly a tonne of saleable compost every 45–60 days.
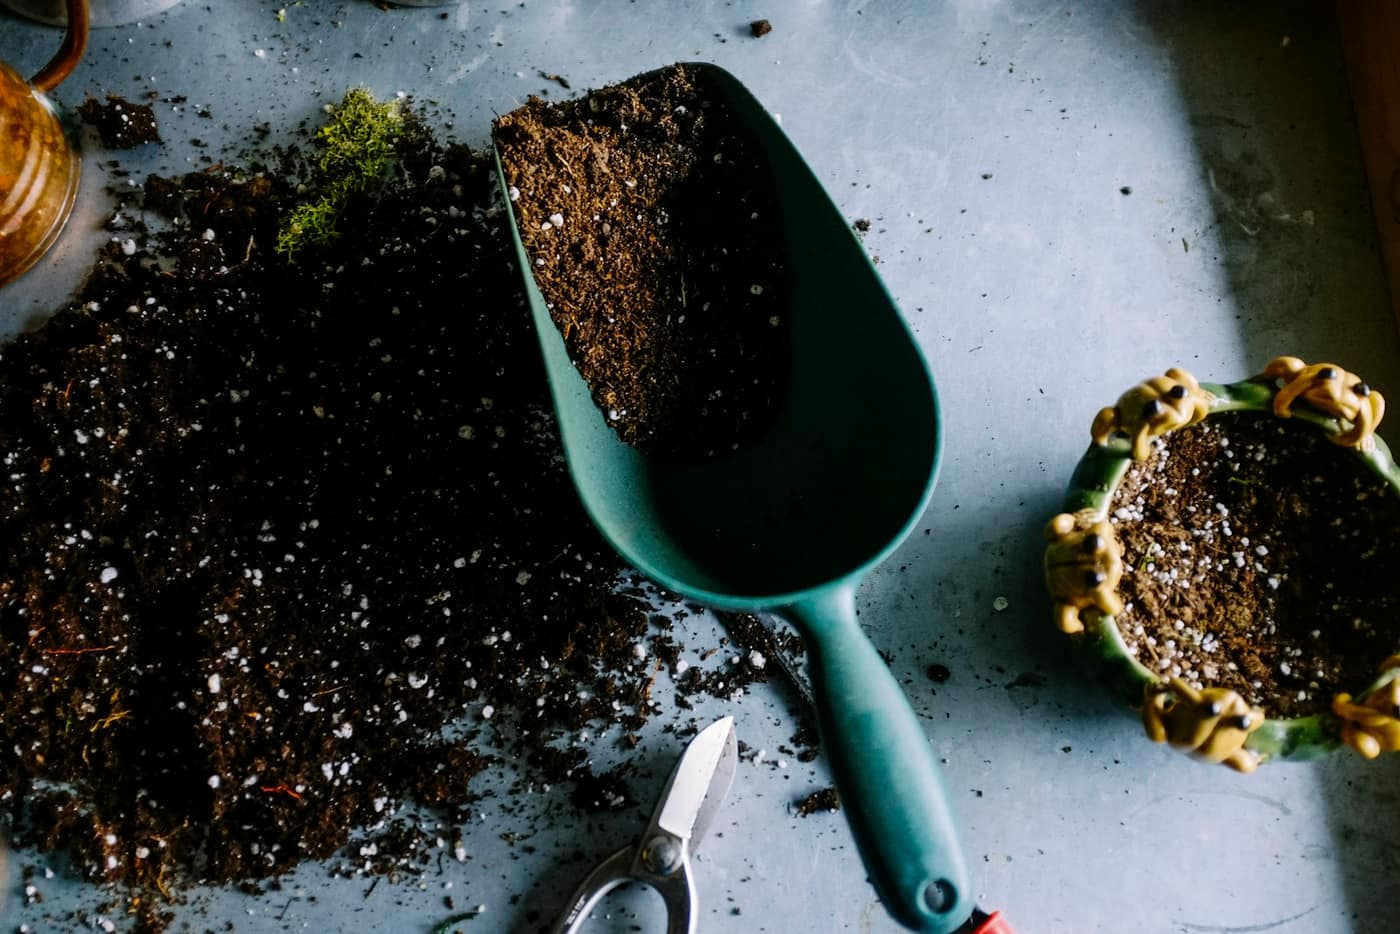
Vermicomposting is the most bankable organic enterprise a smallholding can run: it turns crop residue, dung and farm waste that most farmers are already burning or dumping into a product that sells for ₹6–12 a kilogram, using a bed that fits in a corner of the farmyard. This page exists to answer the questions that come before setting one up — what a bed actually needs, which earthworm species suits Indian conditions, how the 45–60 day cycle runs from feeding to harvest, and whether the setup cost and subsidy actually make the numbers work.
It is written to sit alongside the Organic Farming hub, which covers vermicompost as one input among several. This page assumes you are deciding whether to actually build a bed and run it as an enterprise, and goes deeper — the materials, the process, the unit economics, and the mistakes that quietly kill a worm stock. For how much to apply and to which crop once you have the compost, see the Vermicompost fertiliser page.
The numbers a farmer checks before building a bed.
Earthworms digesting organic waste into a fine, nutrient-dense casting — not just waste rotting on its own.
Vermicomposting is not the same as ordinary composting — it is organic waste digested by earthworms, not just broken down by microbes on their own. The worms consume partially decomposed organic matter and excrete castings: a fine, dark, crumbly material far richer in available nutrients, enzymes and beneficial microbes than the raw waste or plain compost it started as. This is why vermicompost outperforms an equal weight of ordinary compost on soil health, even though the raw NPK numbers look similar on paper.
The process depends on keeping the bed aerobic — enough moisture for the worms to breathe through their skin, but not so much that the bed turns anaerobic and starts to smell. Shade keeps the bed cool enough for the worms to stay active; heat above roughly 35°C or waterlogging both drive worms to the surface or kill them outright. Getting the materials and process right below is really about protecting these two conditions for the full 45–60 day cycle.
Six things, from the bed structure to the water can beside it.
Bed or pit
A brick, HDPE or cement bed roughly 10 × 3 × 2 ft, or a shallow pit of the same size — raised beds drain and are inspected more easily than a pit, and are the more common choice on Indian farms today.
Base bedding layer
A 3–4 inch base of partially decomposed dung, chopped straw or coir pith, laid before the worms go in — this gives the stock somewhere to settle before feeding starts.
Earthworm stock
A starter culture of roughly 1–2 kg of worms per square foot of bed area, bought from a registered vermi-hatchery rather than collected from the wild, so the species and health of the stock are known.
Feedstock
Crop residue, kitchen and farm waste, and cattle dung — pre-decomposed for 15–20 days before it goes into the bed, since fresh waste heats up as it rots and can kill the worm stock outright.
Shade
A simple thatch or asbestos roof over the bed, or a shed corner — direct sun dries the bed and pushes bed temperature past what the worms can tolerate.
Water can
For a light daily sprinkle to hold moisture around 40–60%, checked by squeezing a handful of the bed material — it should feel damp, not dripping.
Three species actually in use on Indian farms, and where each one fits.
Red wiggler
Eisenia fetida
The species most vermi-hatcheries in India actually sell — tolerant of handling and a wide temperature range, and the standard choice for a bed-method unit.
African night crawler
Eudrilus eugeniae
Larger and a faster feeder than the red wiggler, so it can process more waste per bed — but needs warmer, more consistently moist conditions to stay productive.
Indian blue worm
Perionyx excavatus
A native species that reproduces fast, but is more sensitive to cold and to being handled roughly — a less forgiving choice for a first-time unit than the red wiggler.
Six stages from a prepared bed to a sieved, saleable heap.
Build or clean the bed, lay a 3–4 inch base of partially decomposed dung or chopped straw, and set it up under shade with drainage so the bed never waterlogs.
Site the bed close to both the waste source and a water point — a bed that is a chore to reach gets fed and watered less consistently.
Spread feedstock that has already been pre-decomposed for 15–20 days in a layer 4–6 inches deep over the base, and moisten it lightly before the worms go in.
Fresh, unrotted waste heats up as it decomposes inside the bed — feeding it straight in can cook and kill the entire worm stock.
Release the starter culture — roughly 1–2 kg per square foot — evenly across the bed surface and let the worms burrow in on their own over the first day.
Introduce worms in the cool of the evening rather than under a hot afternoon sun, so they settle in before the bed heats up.
Add a fresh, thin layer of pre-decomposed feedstock roughly once a week as the previous layer is consumed, sprinkling water to hold moisture around 40–60% and keeping the bed shaded throughout.
Cover the bed with a wet gunny sack between waterings — it slows evaporation and keeps the surface from crusting over.
Stop adding fresh feedstock roughly a week before the expected harvest date, so the worms finish digesting what is already in the bed rather than leaving half-processed material behind.
Stop watering for a couple of days so the compost dries slightly, then heap it under bright light — the light-averse worms burrow down, leaving finished compost at the top to sieve off and worms concentrated at the bottom to return to a fresh bed.
Sieve the harvested compost through a coarse mesh to catch any un-decomposed material and stray worms before bagging it.
The honest numbers behind the "most bankable organic enterprise" claim.
A single bed costs roughly ₹8,000–15,000 to set up, including the initial worm stock, and produces about a tonne of finished compost every 45–60 day cycle. State horticulture missions and the MIDH capital-subsidy scheme commonly cover 40–50% of that setup cost, which brings a small or marginal farmer’s actual outlay down to roughly ₹4,000–9,000 per bed — confirm the current rate and application process with your district horticulture officer, since it varies by state and year.
A six-bed unit run continuously produces roughly 35–40 tonnes a year, which at ₹6–12 a kilogram is a gross of roughly ₹2–4 lakh a year before feedstock and labour cost — feedstock is usually farm waste already on hand, and labour is light, at around one to two hours a day for feeding, watering and checking the beds. Most units recover their setup cost within the first one to two cycles once a buyer is lined up, which is the real constraint more often than the production itself.
What each one actually offers, and where vermicompost wins and loses.
The full organic-vs-chemical picture is on the Organic Farming hub. This table isolates what matters when the actual choice is which organic input to invest time in: buying chemical fertiliser, composting farm waste the ordinary way, or running a vermicompost bed.
| Feature | Chemical fertiliser | FYM | Vermicompost |
|---|---|---|---|
| Nutrient content (N-P-K) | High, precise — e.g. urea is 46% N | Low, variable — roughly 0.5–1.5% N | Modest but denser — roughly 1.5% N, plus micronutrients |
| Soil & microbial benefit | None; heavy long-term use can degrade soil biology | Good — bulky organic matter and structure | Best — concentrated humus, enzymes and beneficial microbes |
| Time to prepare | Ready to use, bought as-is | 3–6 months to rot down fully | 45–60 days per cycle |
| Application rate | A few kilograms per acre | 8–10 tonnes per acre | 1–2 tonnes per acre |
| Cost to the farmer | Subsidised but a recurring cash cost every season | Low to free if you keep cattle | Low if made on-farm; ₹6–12/kg if bought in |
| Best use | A fast top-up on a nutrient-hungry crop | Bulk soil-building on field crops | Nurseries, vegetables, orchards and the backbone of an organic system |
Four problems that account for most of the worm stock a poorly run bed loses.
Ants invading the bed
Foul smell and a hot, slimy bed
Worm population crashing between cycles
Waterlogging
The setup and feeding mistakes that quietly cost more than the bed itself.
Feeding fresh, unrotted waste directly
Fresh waste heats up as it decomposes inside the bed — fed straight in, it can cook and kill the entire worm stock. Feedstock needs 15–20 days of pre-decomposition before it goes into the bed.
Skipping shade over the bed
Direct sun dries the bed fast and pushes its temperature past what worms tolerate — a bed left uncovered can lose most of its worm stock within days in peak summer.
Overcrowding the bed beyond its worm capacity
A bed stocked far beyond roughly 1–2 kg of worms per square foot runs out of space and feed faster than it can be replenished, stunting the whole batch rather than producing more compost.
Using pesticide-contaminated residue as feed
Pesticide residue on crop waste kills the worm stock outright — residue from a recently sprayed field should never go into the bed, however convenient the waste is otherwise.
Not screening the bed against predators
Birds, frogs and rats will actively hunt an exposed bed for worms — a simple mesh cover over an outdoor bed prevents a population crash that otherwise looks like an unexplained die-off.
Selling compost before it is fully finished
Compost sold with live worms or un-decomposed material still in it disappoints a buyer and costs repeat business — always sieve and let the bed finish its full 45–60 day cycle before bagging for sale.
Check the numbers before you build a bed.
Species choice, setup, the cycle, harvesting and the economics — everything above, in reading order.
Vermicomposting is organic waste digested by earthworms rather than left to rot down on its own — the worms consume partially decomposed dung, crop residue and farm waste and excrete castings far richer in available nutrients, enzymes and beneficial microbes than the raw material or ordinary compost. A single 10×3×2 ft bed turns roughly a tonne of that waste into finished compost every 45–60 days, and it sells for ₹6–12 a kilogram — which is why it is often called the most bankable organic enterprise a smallholding can run: low setup cost, a subsidy that halves it further, and a saleable product made from waste most farmers are already dealing with.
It fits alongside almost any farm, since the feedstock is dung, crop residue or kitchen waste already on hand rather than a purchased input. The real decision is not whether to try it, but how many beds to run and whether to sell the output or use it on your own fields — both are covered further down this page.
A raised bed — brick, HDPE or cement, roughly 10×3×2 ft — is the standard choice over a pit method on Indian farms today, since it drains more reliably and is easier to inspect and harvest. See the materials section above for exactly what a bed needs.
Eisenia fetida, the red wiggler, is what most registered vermi-hatcheries actually sell and the standard choice for a first bed — it tolerates handling and a wide temperature range better than the alternatives. Eudrilus eugeniae (African night crawler) processes waste faster but needs warmer, more consistently moist conditions; Perionyx excavatus (the native Indian blue worm) reproduces fast but is more sensitive to cold and rough handling. Buy stock from a registered hatchery rather than collecting worms from the wild, so the species and health of what you are starting with is actually known.
Build the bed under shade with drainage, lay a 3–4 inch base of partially decomposed dung or chopped straw, then add pre-decomposed feedstock in a 4–6 inch layer before introducing the worm stock — roughly 1–2 kg per square foot, released evenly across the surface in the cool of the evening. The full sequence is in the process timeline above.
The single most important rule at this stage: feedstock must be pre-decomposed for 15–20 days before it goes into the bed. Fresh, unrotted waste heats up as it decomposes, and fed straight into a bed it can cook and kill the entire worm stock — the most common way a first-time unit fails before it ever produces a harvest.
Once inoculated, a bed needs a thin layer of fresh pre-decomposed feedstock roughly weekly, light watering to hold moisture around 40–60%, and shade maintained throughout — direct sun both dries the bed and pushes its temperature past what worms tolerate. A wet gunny sack laid over the bed between waterings slows evaporation and keeps the surface from crusting.
The common problems section above covers the specific symptoms and fixes for ants, a foul-smelling anaerobic bed, a crashing worm population and waterlogging — almost all of them trace back to getting moisture, shade or feedstock timing wrong, which is why those three variables matter more than anything else in running a bed well.
Stop feeding roughly a week before the expected harvest so worms finish digesting what is already in the bed, then stop watering for a couple of days so the compost dries slightly. Heap it under bright light — light-averse worms burrow downward, leaving finished compost at the top to sieve off and the worm stock concentrated at the bottom to return to a fresh bed for the next cycle.
Good vermicompost is dark, crumbly and cool, smells earthy rather than foul, and has no recognisable un-decomposed waste left in it. If it is hot, slimy or smells bad, the cycle was not finished, or the bed went anaerobic at some point — sieve carefully and never bag compost that has not fully finished, since it disappoints buyers and costs repeat business.
The unit economics section above works through the real numbers: roughly ₹8,000–15,000 to set up a bed, a 40–50% subsidy under state horticulture missions and the MIDH capital-subsidy scheme that brings the net cost down further, and a market price of ₹6–12 a kilogram for the finished product. A six-bed unit run continuously produces roughly 35–40 tonnes a year — a gross of roughly ₹2–4 lakh before feedstock and labour cost, most of which most farmers already have on hand.
The real constraint is usually not production but finding a buyer — local nurseries, vegetable growers and other farmers converting to organic inputs are the most reliable market; confirm demand before scaling beyond one or two beds. Selling as a certified organic input under PGS-India can also command a better price with the right buyer.
Not every bed needs to become a selling enterprise — using the output on your own fields is often the better call for a smallholding that is also short on organic matter in its soil, since vermicompost is dense in the micronutrients and microbial life a field crop often lacks. See the Vermicompost fertiliser page for exactly how much to apply and to which crop.
A common middle path is running one or two beds to cover a farm’s own nursery, vegetable patch and orchard needs, and only scaling to a selling operation once that demand is comfortably met and a buyer for the surplus is actually lined up — the setup cost and subsidy make either path low-risk to start.
Long-form writing on vermicomposting, with the numbers included.
Roughly ₹8,000–15,000 for a standard 10×3×2 ft brick or HDPE bed, including the initial worm stock. A 40–50% subsidy is commonly available under state horticulture missions and the MIDH capital-subsidy scheme, which brings the actual outlay down to roughly ₹4,000–9,000 — confirm the current rate with your district horticulture officer.
About one tonne per cycle, and a cycle runs 45–60 days from feeding to harvest. A six-bed unit run continuously produces roughly 35–40 tonnes a year.
Eisenia fetida (the red wiggler) is what most registered vermi-hatcheries sell and the standard choice for a first bed, since it tolerates handling and a wide temperature range well. Eudrilus eugeniae processes waste faster but needs warmer, wetter conditions; Perionyx excavatus is native and reproduces fast but is more sensitive to cold.
Typically 45–60 days from introducing feedstock to harvesting finished compost, assuming the bed is fed, watered and shaded correctly throughout. Stopping feeding about a week before the expected harvest date lets the worms finish digesting what is already in the bed.
Crop residue, kitchen and farm waste, and cattle dung — but only after it has been pre-decomposed for 15–20 days. Fresh, unrotted waste heats up as it decomposes and can kill the entire worm stock if fed straight into the bed.
Stop watering for a couple of days so the compost dries slightly, then heap it under bright light. Light-averse worms burrow down toward the bottom of the heap, leaving finished compost at the top to sieve off, while the worm stock concentrated at the bottom goes back into a fresh bed for the next cycle.
Yes — state horticulture missions and the MIDH capital-subsidy scheme commonly cover 40–50% of setup cost for a vermicompost bed or unit. The exact rate and application process vary by state and year, so confirm with your district horticulture officer before budgeting.
Yes — it typically sells for ₹6–12 a kilogram, to local nurseries, vegetable growers and other farmers switching to organic inputs. A six-bed unit producing roughly 35–40 tonnes a year at those prices grosses roughly ₹2–4 lakh a year before feedstock and labour cost, though finding a steady buyer is usually the real constraint, not production.
The most common causes are feeding fresh, unrotted waste (which heats up and cooks the bed), a bed left unshaded (heat above roughly 35°C is lethal), waterlogging, or feedstock contaminated with pesticide residue. Check moisture, shade and what went into the last feeding first — almost every crash traces back to one of those three.
Costs, output and subsidy figures are general ICAR-KVK package-of-practice and state horticulture mission/MIDH estimates, not a quote for any one district or scheme year — confirm with your local Krishi Vigyan Kendra before spending. Read more at /editorial-policy.