Microgreen Farming: Growing It at Home
Microgreens explained simply - how they differ from sprouts, what a home tray setup needs, easy varieties, and first-batch mistakes.
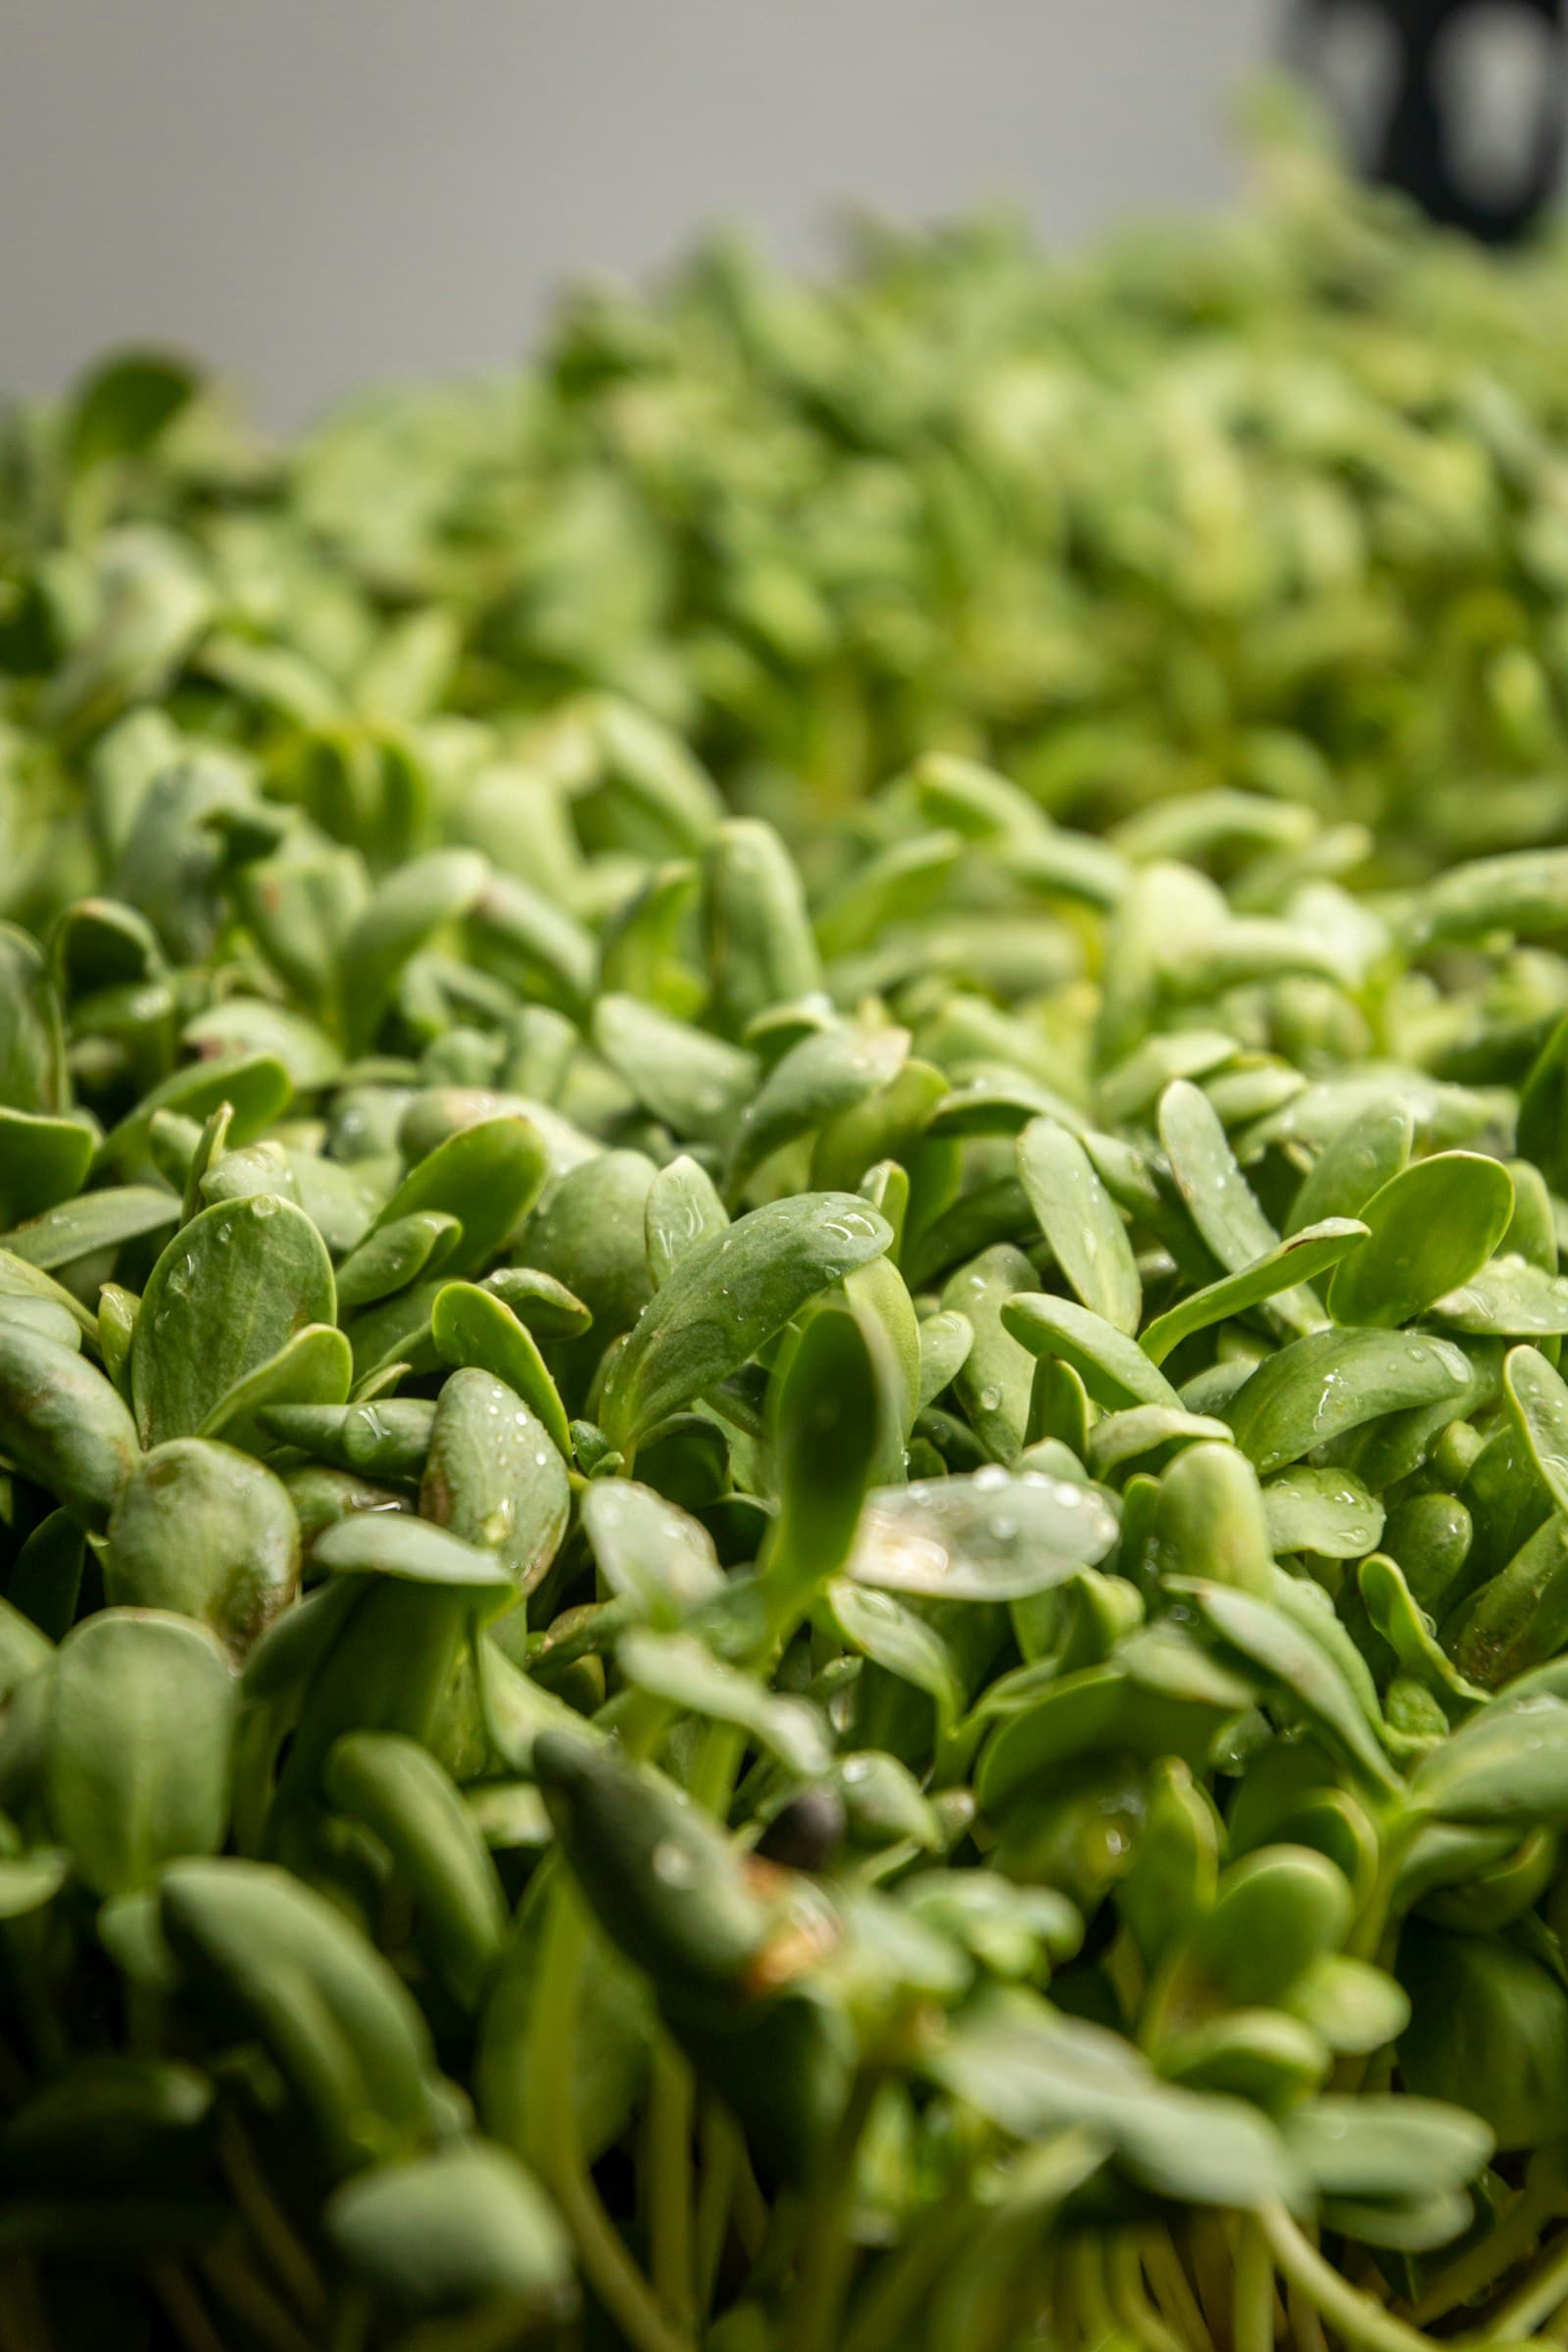
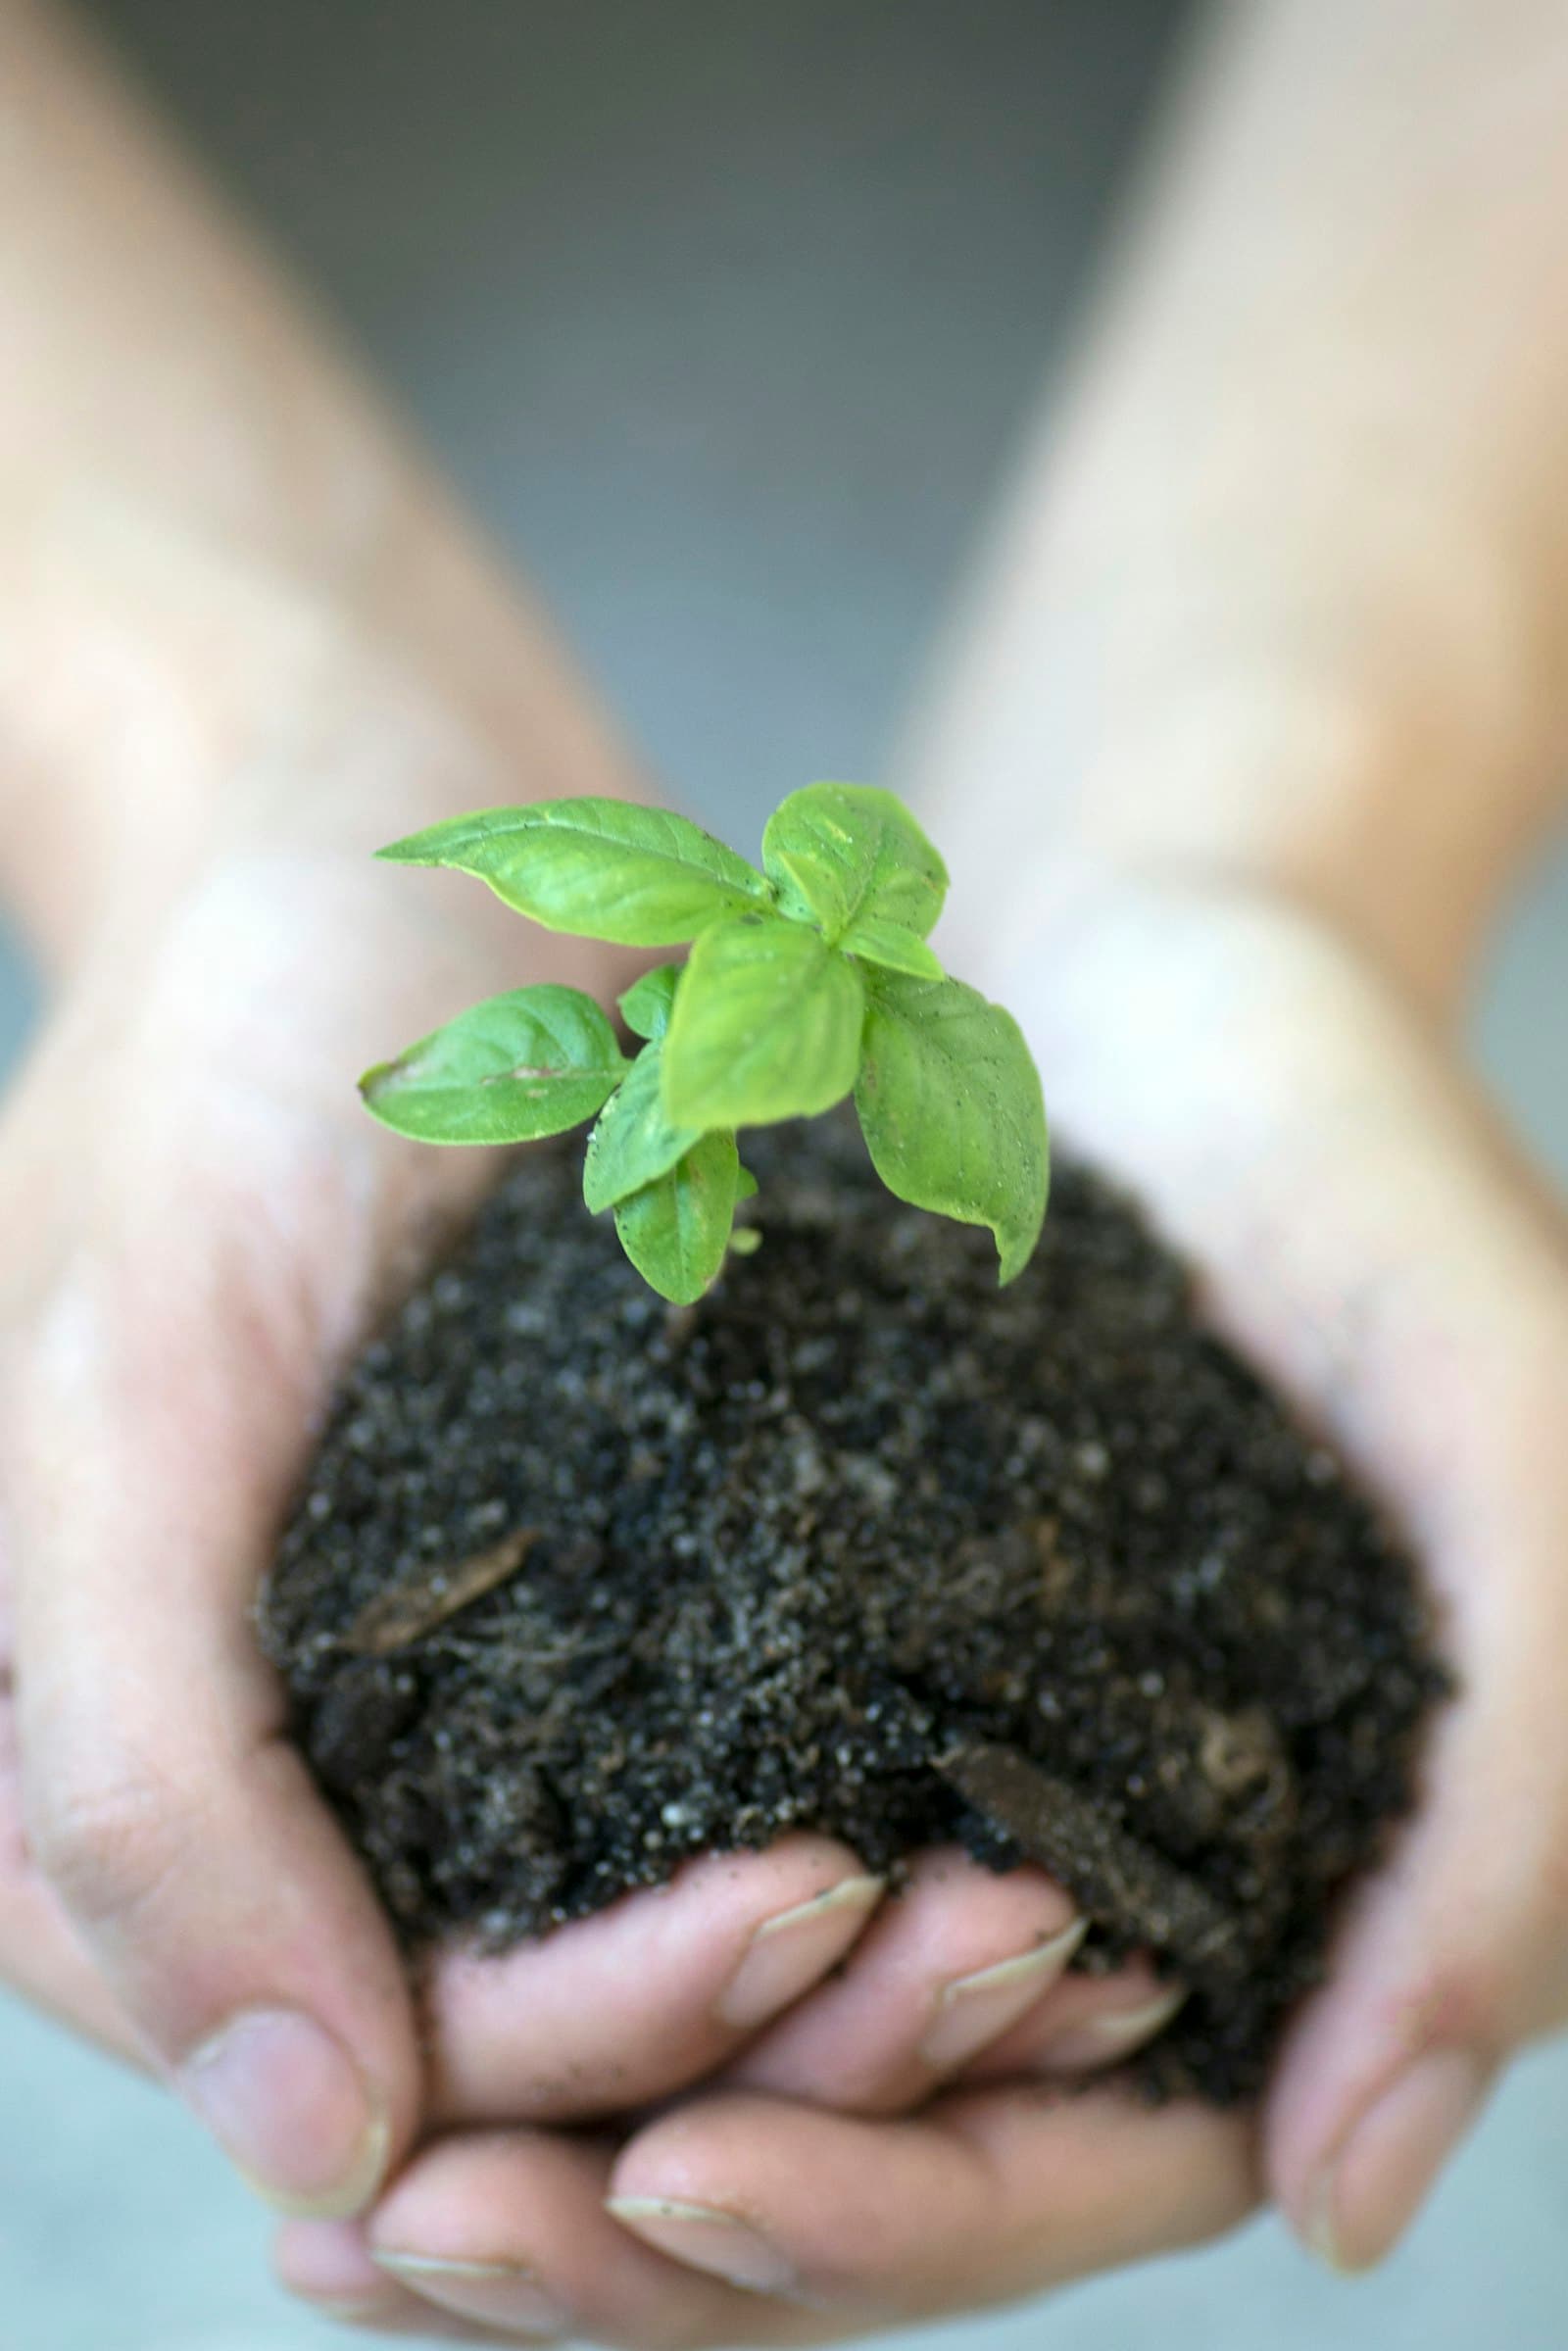
Most people who ask "what is microgreen farming" are really asking a narrower question: can I actually do this in a flat or a small backyard, or is it another thing that needs a field? The short answer is yes — home-scale microgreen growing is one of the few genuinely low-barrier ways to grow something edible without land. But "low barrier" doesn't mean foolproof, and most first trays fail for the same two or three avoidable reasons. Here's what microgreens actually are, what a home setup needs, and where beginners go wrong.
What a microgreen actually is
A microgreen is a vegetable or herb seedling harvested very young — right after the first true leaves appear above the two seed leaves (cotyledons), usually 7–14 days after sowing. That's the whole definition; the plant is the same radish, mustard, or sunflower you'd grow to maturity in a field, just cut off at the stem while it's still a few centimetres tall.
It's easy to confuse three things that look similar but aren't:
- Sprouts — the whole seed, root and all, germinated in water (no growing medium) and eaten in 2–4 days, seed coat included. Moong sprouts on a plate are sprouts, not microgreens.
- Microgreens — grown in a thin layer of soil or cocopeat, cut above the root once the first true leaf shows, 7–14 days.
- Baby greens — the same crop grown 3–4 weeks longer, closer to a small version of the mature leaf you'd buy as a vegetable.
The distinction isn't pedantic — it changes how you grow them, how long they keep, and in a couple of cases, whether they're safe to eat at all.
Yes — you can grow them at home
What makes microgreens different from every other crop on this site is that the entire cycle — sowing to harvest — happens in a tray you can keep on a kitchen counter or a shaded windowsill. No field, no season, no irrigation channel. That's what makes it realistic for a balcony, a terrace, or a spare indoor shelf in a way that a field crop genuinely is not.
What it needs, at minimum:
- A shallow tray — 3–4 cm deep, with drainage holes. An old food container with holes punched in the base works as well as a bought seedling tray.
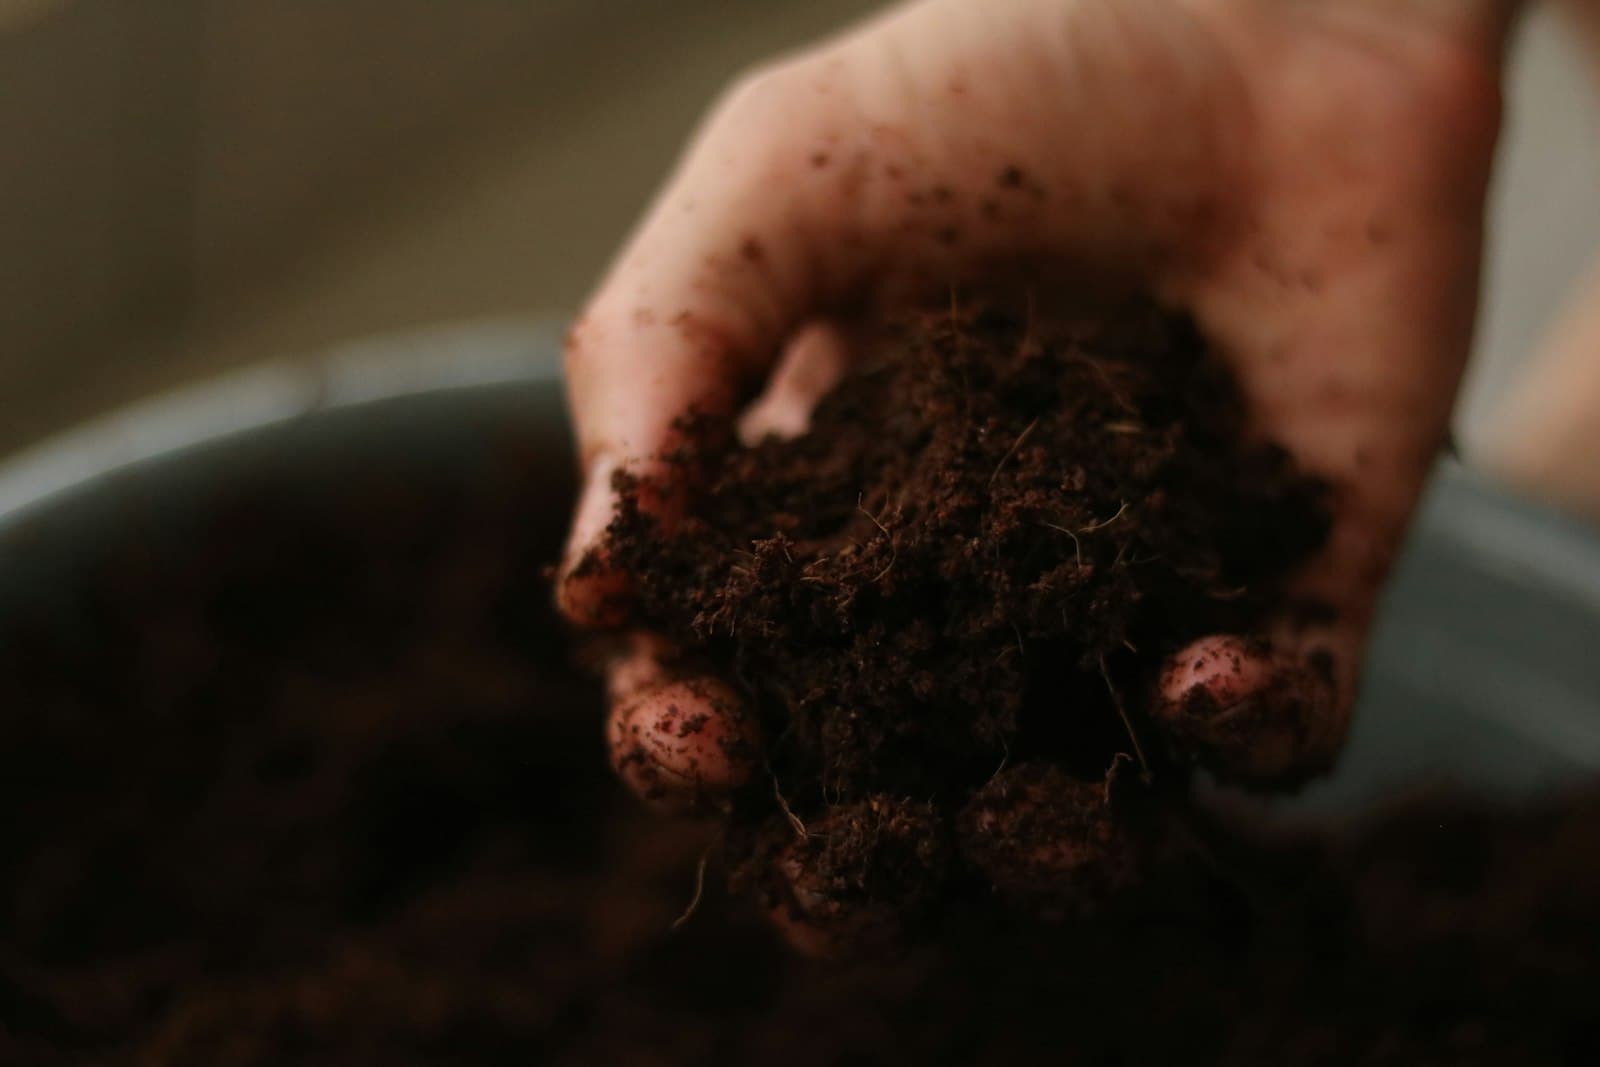
- A growing medium — cocopeat is the easiest to keep clean and light; ordinary garden soil sieved to remove clods also works, though it's messier and more prone to fungus gnats indoors.
- Seed — untreated, food-grade seed only. Seed sold for field sowing is often chemically treated against soil pathogens (see seed treatment for why that's done for field crops) — that treatment is fine in a field, not fine on something you'll eat raw within two weeks.
- A spray bottle — microgreens are watered by misting, not flooding; the shallow tray and dense sowing make standing water the fastest way to lose a batch to mould.
- Light — a bright windowsill is enough for most home batches; you don't need grow lights unless the room gets no direct daylight at all.
The process, step by step
- Soak seed that benefits from it. Larger seed like sunflower and pea benefits from an 8–12 hour soak before sowing; small seed like mustard and radish can go straight in.
- Sow densely, don't bury. Spread seed thickly and evenly across the medium so it just about touches — microgreens are grown far denser than a field crop — and press gently. Most varieties aren't covered with more medium on top; light-sensitive germinators like lettuce need to see light to sprout.
- Cover and blackout for 2–4 days. Stack an empty tray on top, or cover with a damp cloth, to hold humidity and darkness while the seed germinates. Trays that skip this step tend to come up patchy.
- Uncover once you see pale yellow shoots. Move the tray into light. The shoots green up within a day.
- Mist twice a day, morning and evening, just enough to keep the medium moist, never waterlogged.
- Harvest at 7–14 days, depending on variety, once the first true leaves — not just the seed leaves — have opened. Cut with clean scissors just above the medium line.
Easiest microgreens to start with in India
Cost and forgiveness matter more than novelty for a first tray. Radish (mooli), mustard (sarson), and moong are the standard beginner choices — cheap seed you likely already have in the kitchen, fast germination, and enough tolerance for an uneven watering schedule that a first attempt won't be ruined by one missed day. Sunflower and fenugreek (methi) are a close second once the first batch has worked.
One firm exception: never grow nightshade seedlings — tomato, potato, brinjal, or chilli — as microgreens. Their young foliage carries solanine at a level that's fine in field-grown mature fruit but not in the seedling stage, which is exactly why no commercial microgreen grower sells them. Stick to the crucifers, legumes, and grains that are actually sold as microgreens.
What actually kills a first batch
Almost every failed home tray comes down to one of three things:
- Overwatering. A shallow, densely sown tray with no drainage margin turns standing water into mould within a day. Mist, don't pour.
- No airflow during the blackout phase. A sealed, humid cover left on too long — or plastic that traps condensation against the seed — invites the same mould problem from a different direction.
- Harsh midday sun. A closed indoor tray can overheat fast on a bright windowsill; morning or filtered light suits most varieties better than a few hours of direct afternoon sun.
Old or treated seed is the other common culprit — seed past its shelf life germinates unevenly, and a patchy tray is usually a seed problem, not a technique problem.
Turning it into more than a hobby tray
A single tray produces a few hundred grams per cycle — enough for a household, not an income. Scaling it into a small side enterprise (selling to a local restaurant, a gym, or health-conscious neighbours) means running several trays on a staggered schedule so something is always ready to cut. At that point it starts to look less like a windowsill hobby and more like a small enterprise with its own unit economics — not unlike vermicompost on a small holding in that sense: low capital, fast cycle, but real enough to need clean water, sanitised trays, and consistent sourcing before you take money for it.
The one sentence version
Microgreens are a young seedling — not a sprout, not a baby green — grown in a shallow tray of soil or cocopeat and cut 7–14 days after sowing, which makes them one of the few crops you can genuinely grow start-to-finish on a kitchen counter; start with radish, mustard, or moong, mist instead of flooding, and skip nightshade seed entirely.
Frequently asked questions
Are microgreens the same as sprouts?
No — sprouts are the whole seed, root and all, germinated in water alone (no growing medium) and eaten within 2–4 days, seed coat included. Microgreens are grown in a thin layer of soil or cocopeat and cut above the root once the first true leaf appears, which takes 7–14 days. The distinction matters for storage too: sprouts spoil fast because the root and seed coat stay attached, while cut microgreens keep several days refrigerated.
How long before I get my first harvest at home?
Most varieties are ready in 7–14 days from sowing — mustard and radish lean toward the faster end, sunflower and pea shoots take closer to 10–14 days. There's no field-style season to wait for; the same windowsill tray can be resown the day you harvest.
Which microgreens should a beginner start with in India?
Radish (mooli), mustard (sarson), and moong are the most forgiving — cheap seed, fast germination, and enough tolerance for a slightly uneven watering schedule that a first attempt won't be ruined by one missed day. Skip tomato, potato, brinjal, and other nightshade seeds entirely; their seedling-stage foliage carries solanine and isn't sold or eaten as a microgreen anywhere.
Can I sell microgreens grown at home, or do I need a licence?
Selling small quantities directly to neighbours or a local restaurant is legal without a state or central FSSAI licence as long as your annual turnover stays under the current FSSAI basic-registration slab (around ₹12 lakh) — but even at that scale, you still need the FSSAI Basic Registration, a one-time online form, not the full licence a packaged-food brand needs.

Written by
Vaibhav Dhama
Founder, Technical Kisan
Vaibhav Dhama is the founder of Technical Kisan. He writes from Baghpat, Uttar Pradesh, and builds each guide on ICAR and state agricultural university guidance, official government scheme notifications, and live mandi-price data.
- Writes from Baghpat, Uttar Pradesh
- Software developer (BTech, 2021)
- Not a trained agronomist — confirm with your KVK
Discussion is coming soon
We are building a comments section where you can ask a question about this guide and see what other farmers in your district are doing.
For now, write to us at [email protected] — we read every message.